WHAT TO DO
Are you a contributor? Do you want to put your pictures on this site? If so, here is your comprehensive guide. Alternatively download here as PDF document.
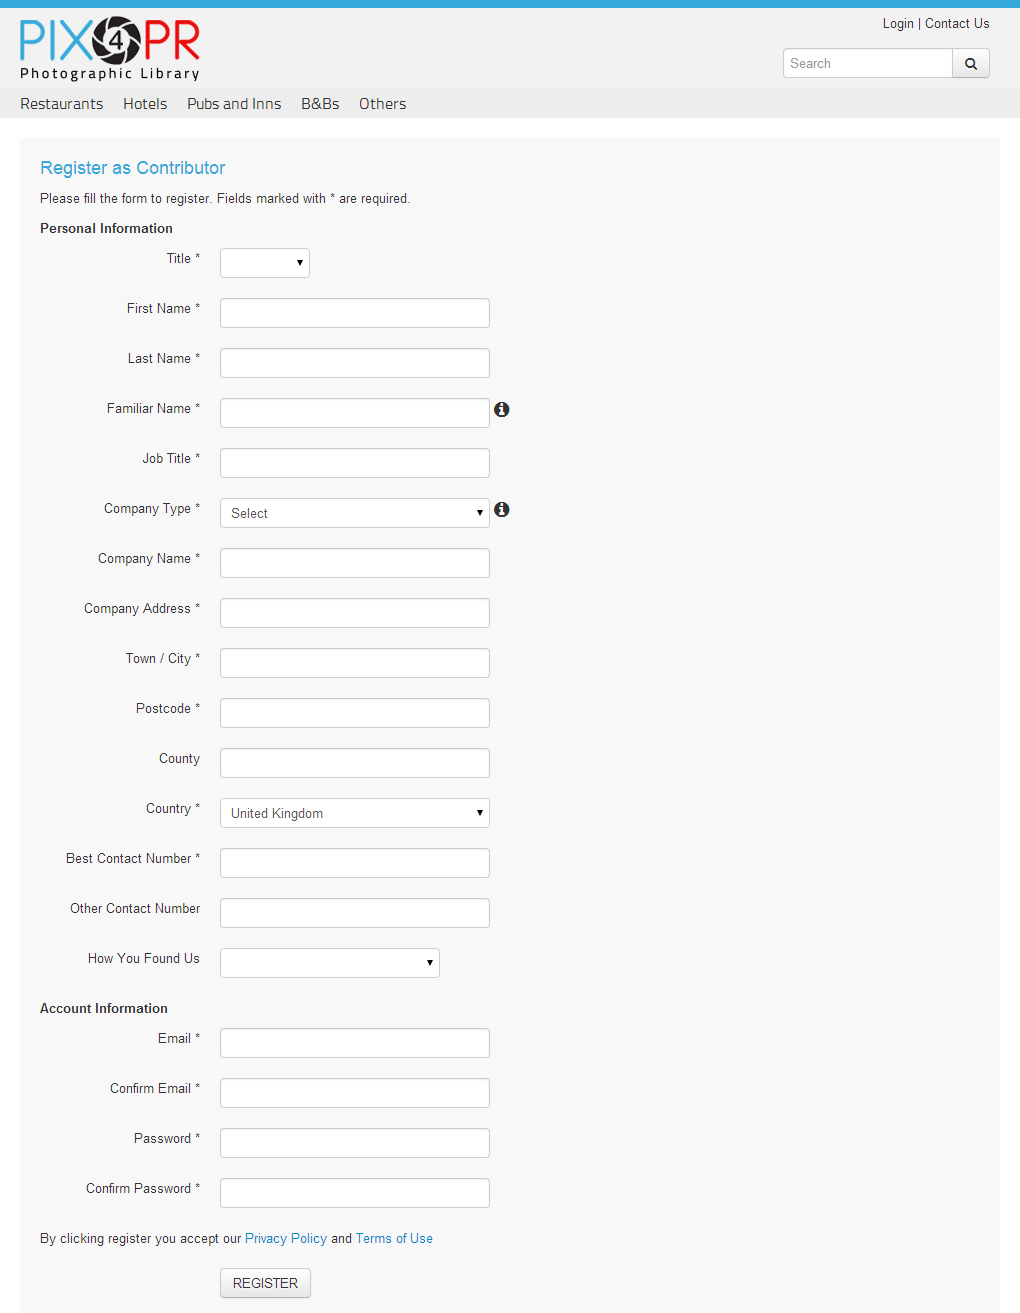
STEP ONE
You need to register and create an account on Pix4PR. (This means you accept the Privacy Policy and Terms of Use).
Your area is BLUE throughout the website. The Media area is RED.
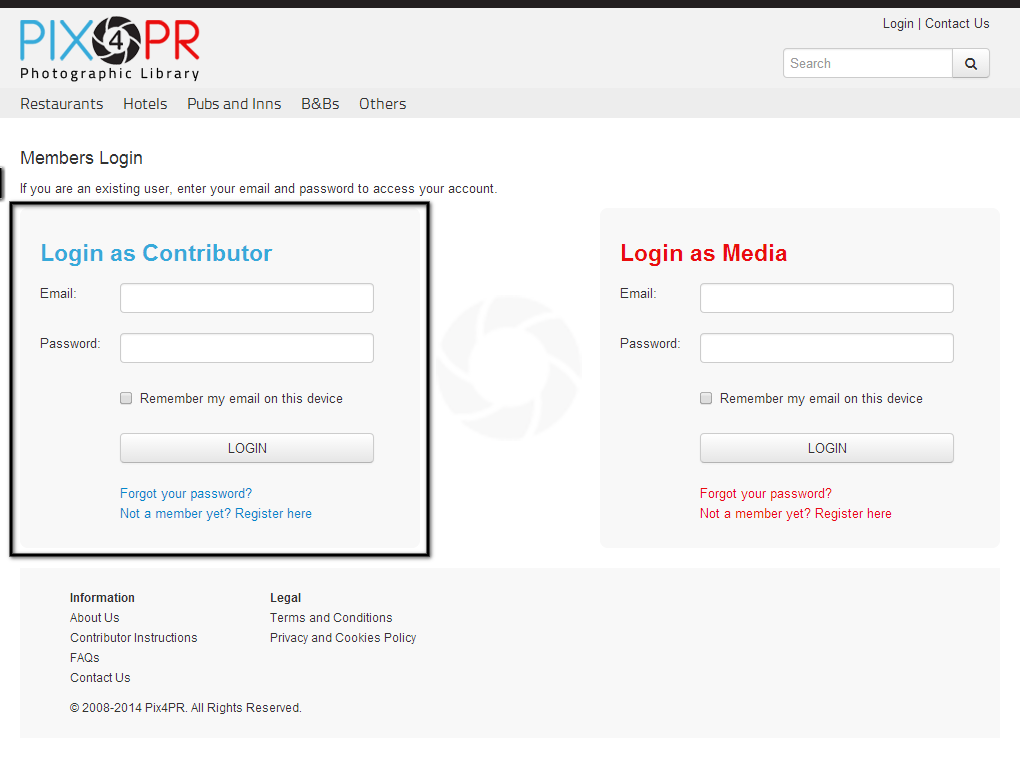
STEP TWO
When registered, you can log in using your email and password.
“Remember my email on this device” gives a permanent “cookie” on the browser so you don’t need to re-enter your email each time.
Your password must be entered each time you log in.
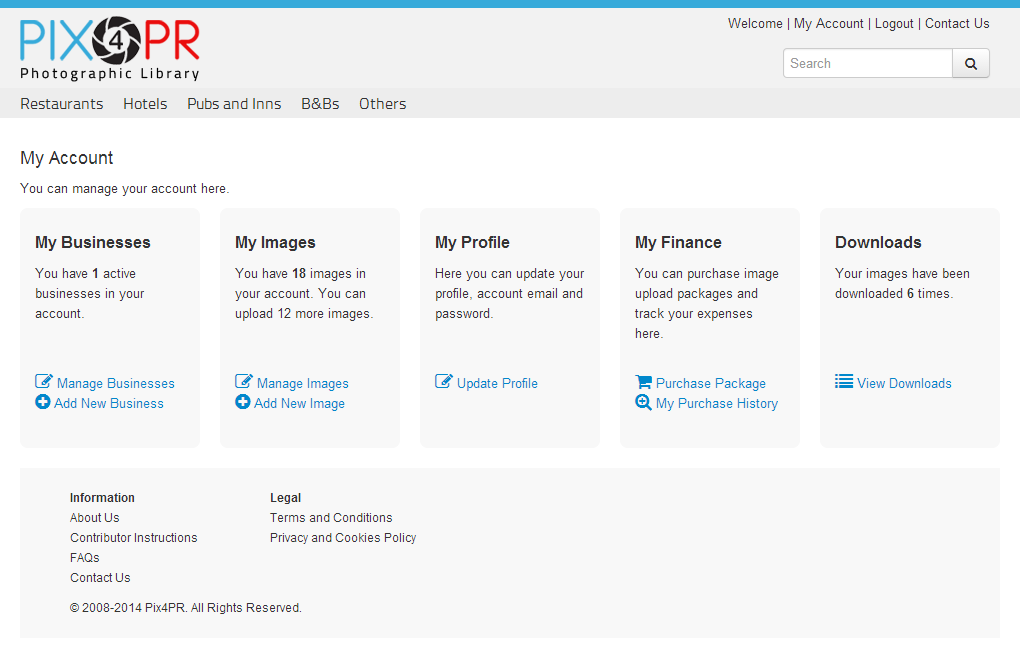
STEP THREE
Once you’ve logged in to Pix4PR, you arrive at “My Account”. This summarises your account and links you to the Blue (contributor) area.
From here you can:
STEP FOUR
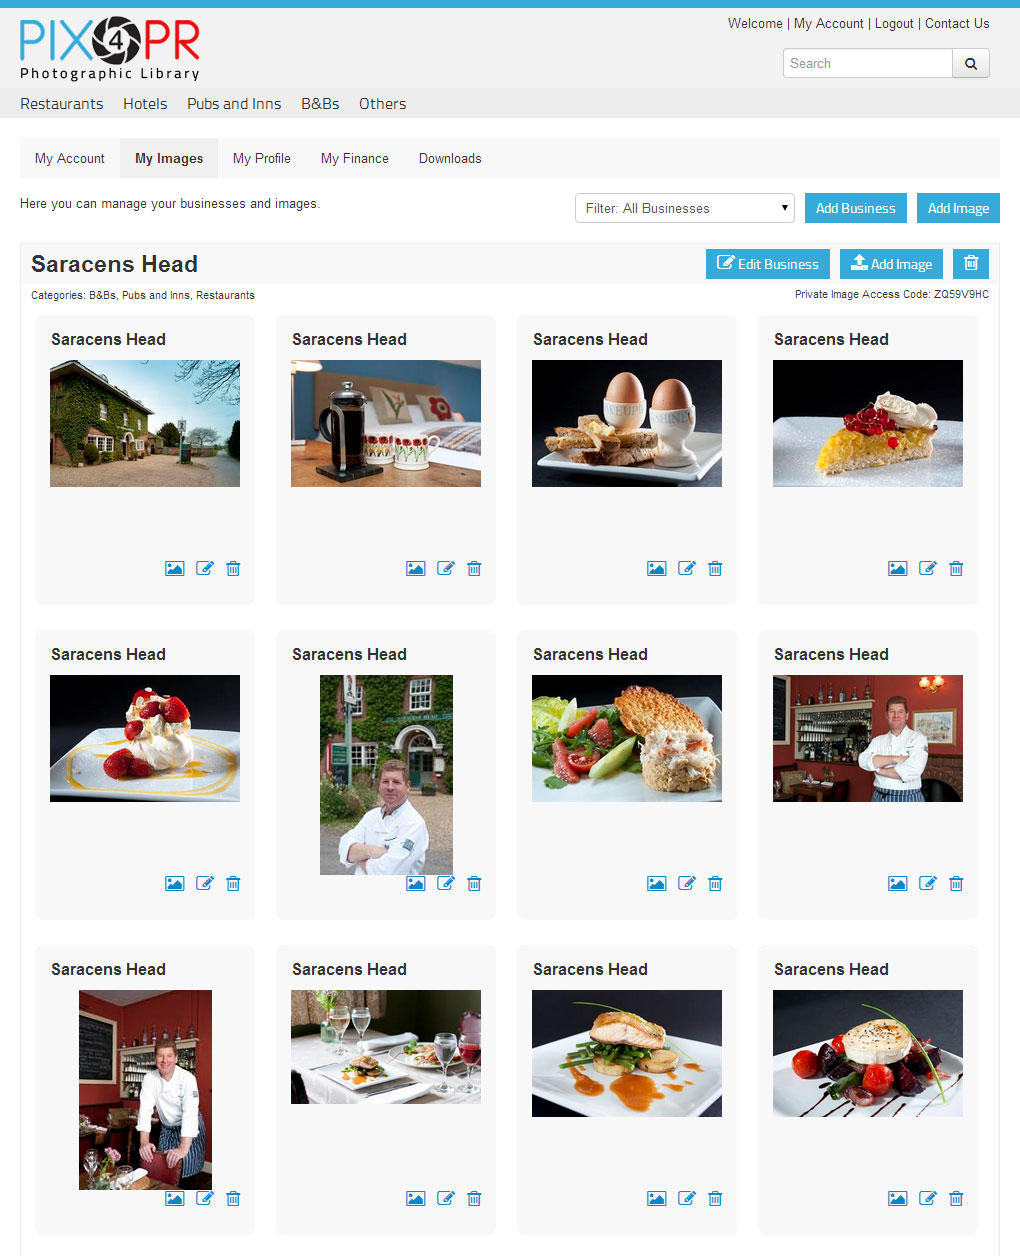
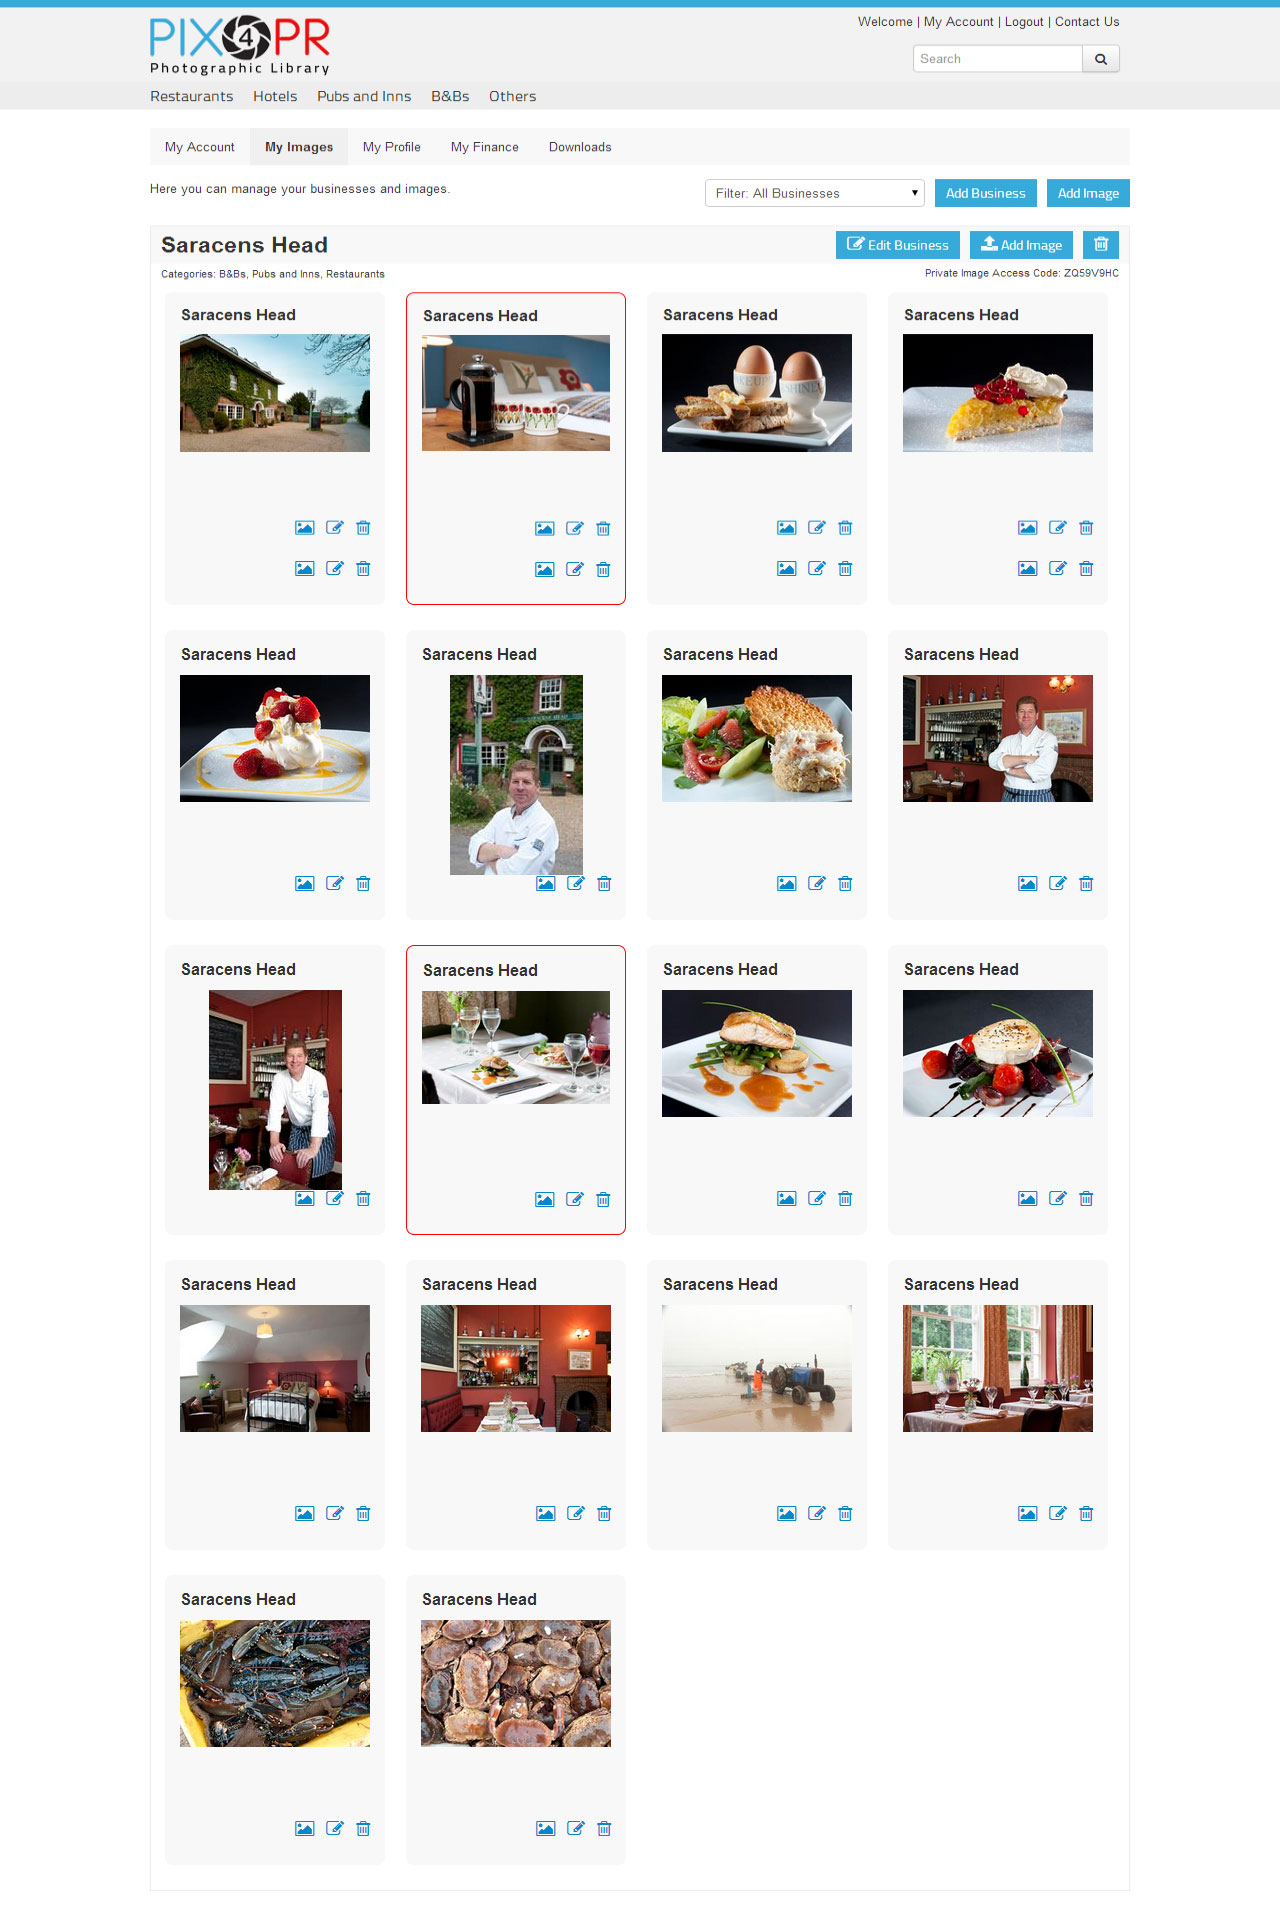
My Images
You manage your businesses and images here in one, combined page. Each business is displayed with its corresponding, uploaded images.
A red border around an image means it has incomplete metadata* or descriptive information. It is essential to have your images well captioned therefore we have put on a red border to remind you.
To remove the red border click the Edit Icon  and update the missing information.
The Image Icon  opens a window showing image information or metadata.
The Edit Icon allows you to edit information or metadata.
The Delete Icon  allows you to delete the selected image.
The Edit Business Button links you to the page where the businesses information can be changed.
The Add Image Button links to the page where you can add single or multiple images for the selected business.
The Delete Business Icon  deletes the selected business and all images related to that business.
STEP FIVE
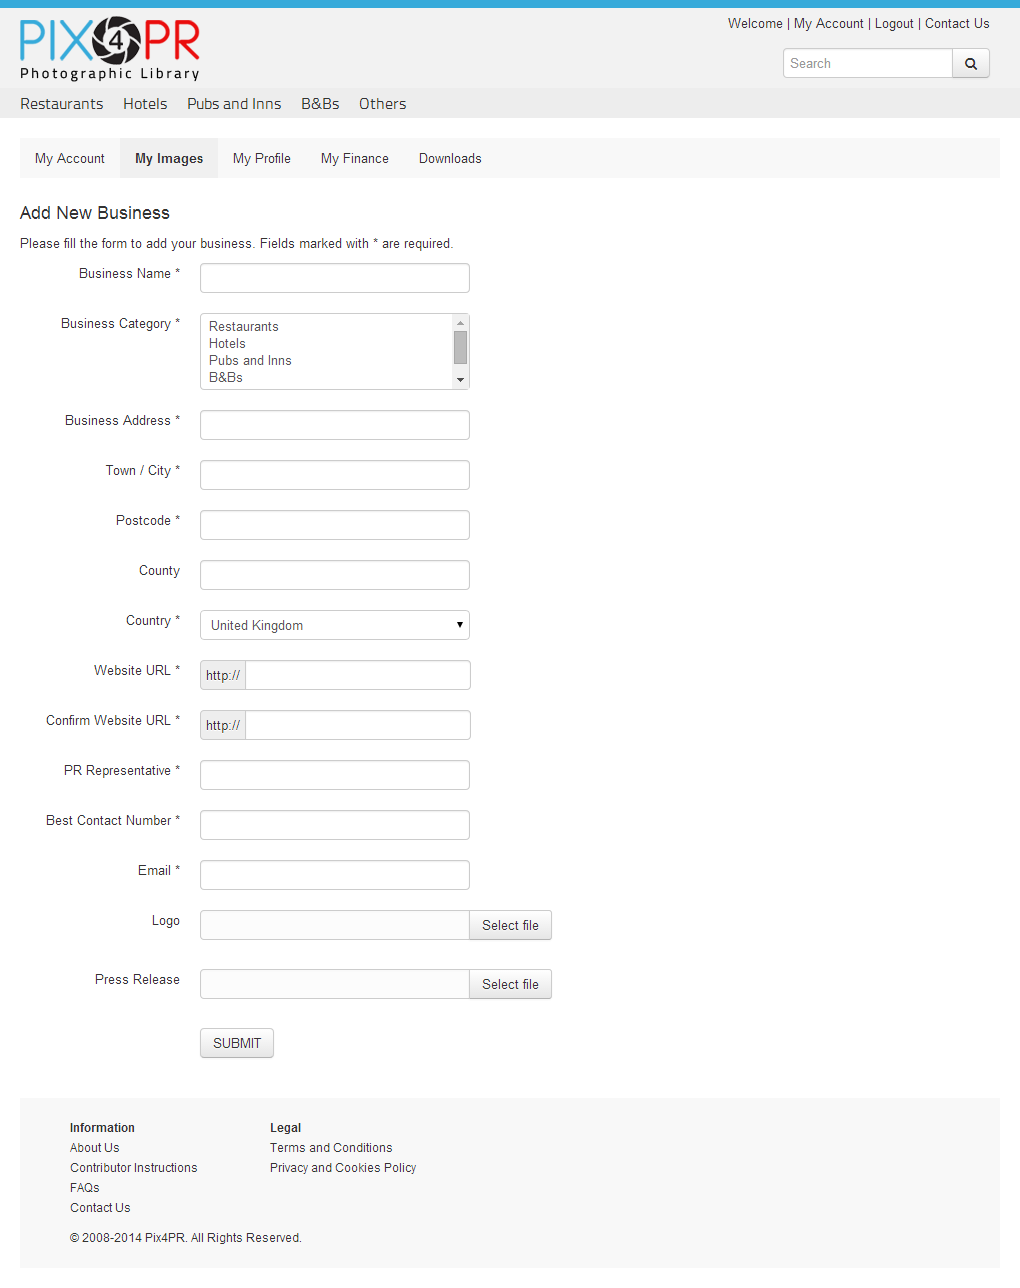
Add New Business
This form is to register each new business. Enter contact details plus the business’s name and category.
Please note that the name of the PR Representitive and their best contact number are shown on the metadata of the image. These are available to the public to make contact with you regarding your Private Access Code. Please only use publically available business numbers
Your Website URL (address) is most important. It is automatically copied from here and used as part of the copyright declaration in the caption or metadata attached to each image, as below:
Download, use and future use of this image is strictly subject to the agreed licence terms set out here. NB: This also means the image can only be used with an article about the related business, or with a credit stating “Picture Courtesy of [Business Website URL]”.
Your Website URL is also used on the Lightbox page where the Media download chosen images.
STEP SIX
Purchase Annual Licence
Before uploading any images you will need to purchase your annual licence for that business. This can be done by going to "My Finance" found in "My Account" Here you can click on "Purchase Package" where you can choose your annual subscription. Once purchased you will be able to upload images for any of your businesses.
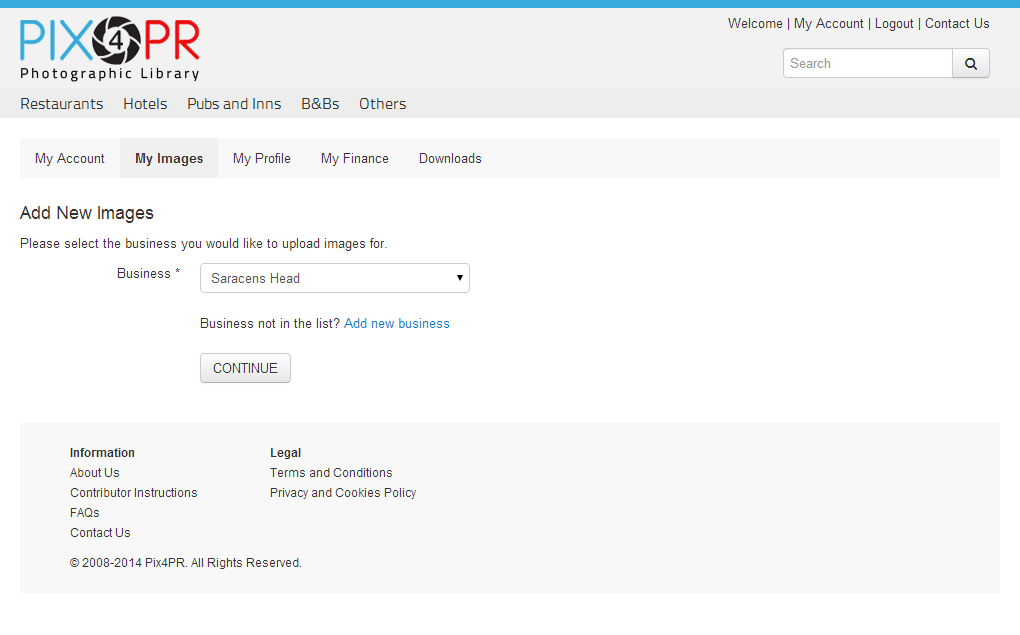
STEP SEVEN
Before adding new images, you need to select the relevant business for that image. Once selected from the dropdown menu, click on the “Continue” button.
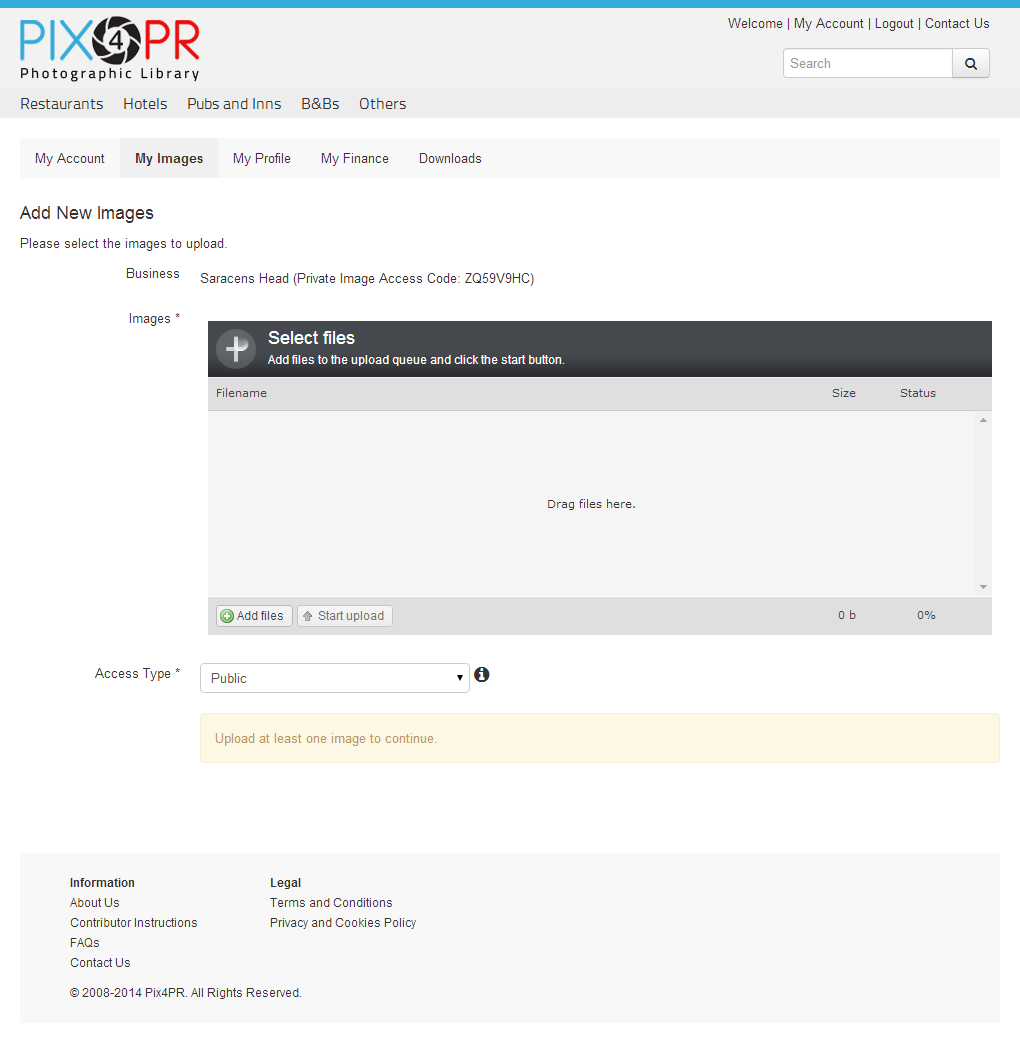
STEP EIGHT
Here you can upload one or more images from your local device (usually computer) by clicking on “Add Files” or by dragging and dropping the files onto the “Image Upload” panel.
The “Access Type” gives you, as the Contributor, a choice. Do you want the images to be “Public” or “Private”? The default setting is "Private" which is what we recommend.
“Public” means the image(s) can be accessed and downloaded by any registered Media user.
“Private” means the images can be seen on the site but not downloaded until the Media user adds the access code for that Business. This code is provided by the Contributor.
A new Private Access Code is automatically generated for each Business. The code can be found next to each Business in the “My Account” area. Any Media user wanting to use a picture will have to contact the Contributor using the details on the image.
The speed of the image upload will, of course, depend on the number and size of the images and local broadband/network speeds.
* metadata – simply, “data about data” – on this site the word refers to data about containers of data
STEP NINE
When your picture is being uploaded, you need to provide the caption, keywords and photographer’s details. These are automatically captured and stored in the Pix4PR library.
Providing this information is highly recommended when using PixPR, your image is far more valuable to the Media with a caption. The photographer who created the picture also deserves recognition.
A Red border shows this information is incomplete and serves as a reminder to fill in the missing details using the Edit Icon below the image.
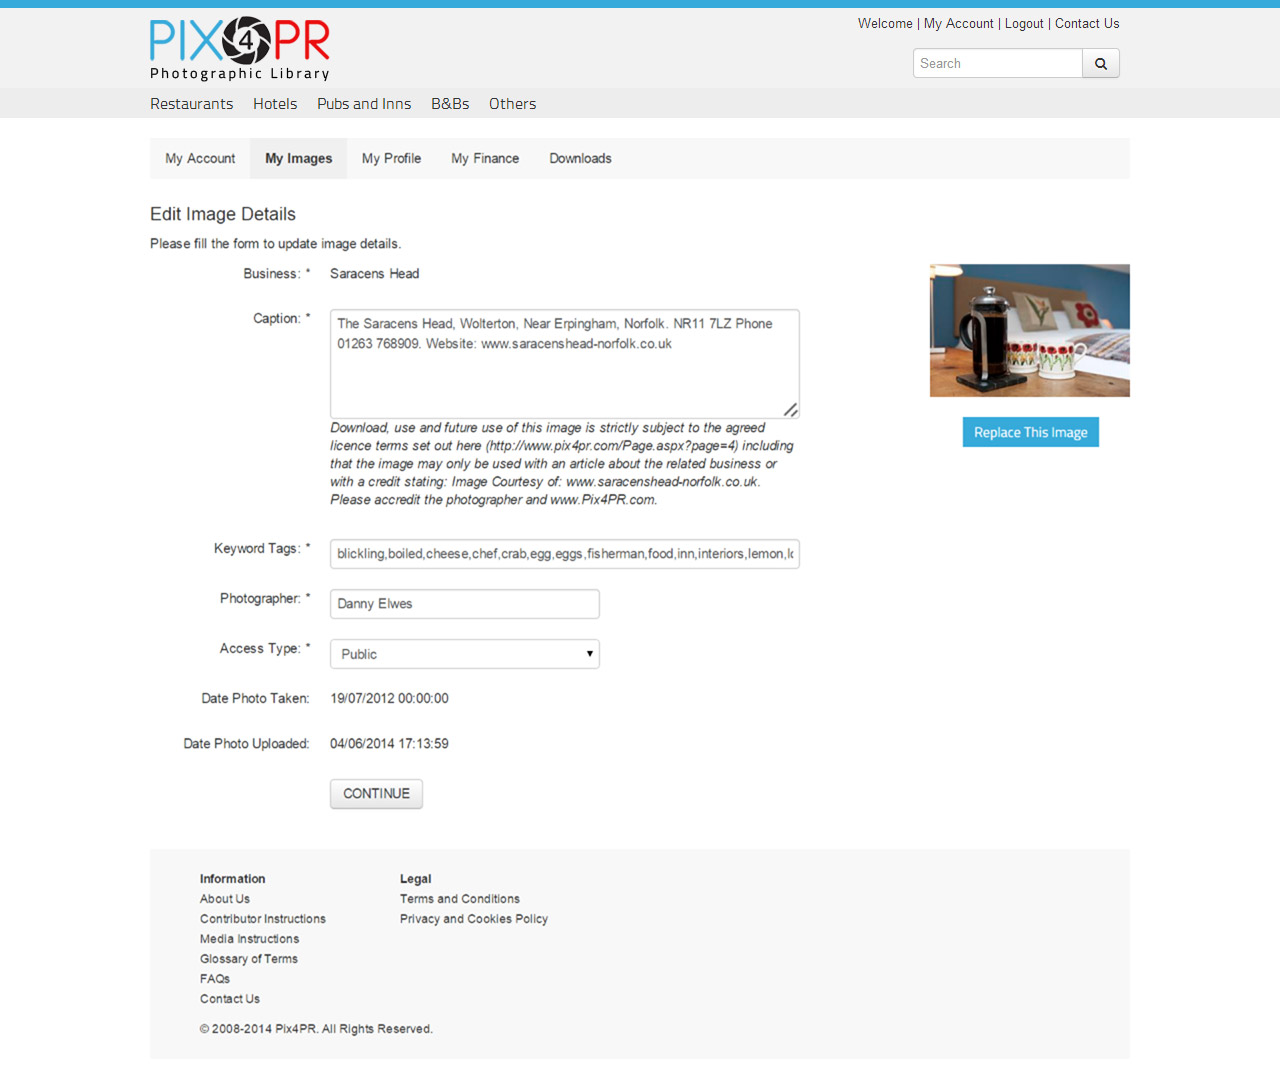
STEP TEN
You can also edit all picture information as soon as the picture is uploaded.
Red border or not, the caption, keywords, photographer and Access Type can be added or altered using the Edit Image page. This can be done at any time.
This information is overridden each time it is changed.
You may also replace the image at any time using the "Replace Image" icon. This is a continuation of the annual licence. Replace This Image
STEP ELEVEN
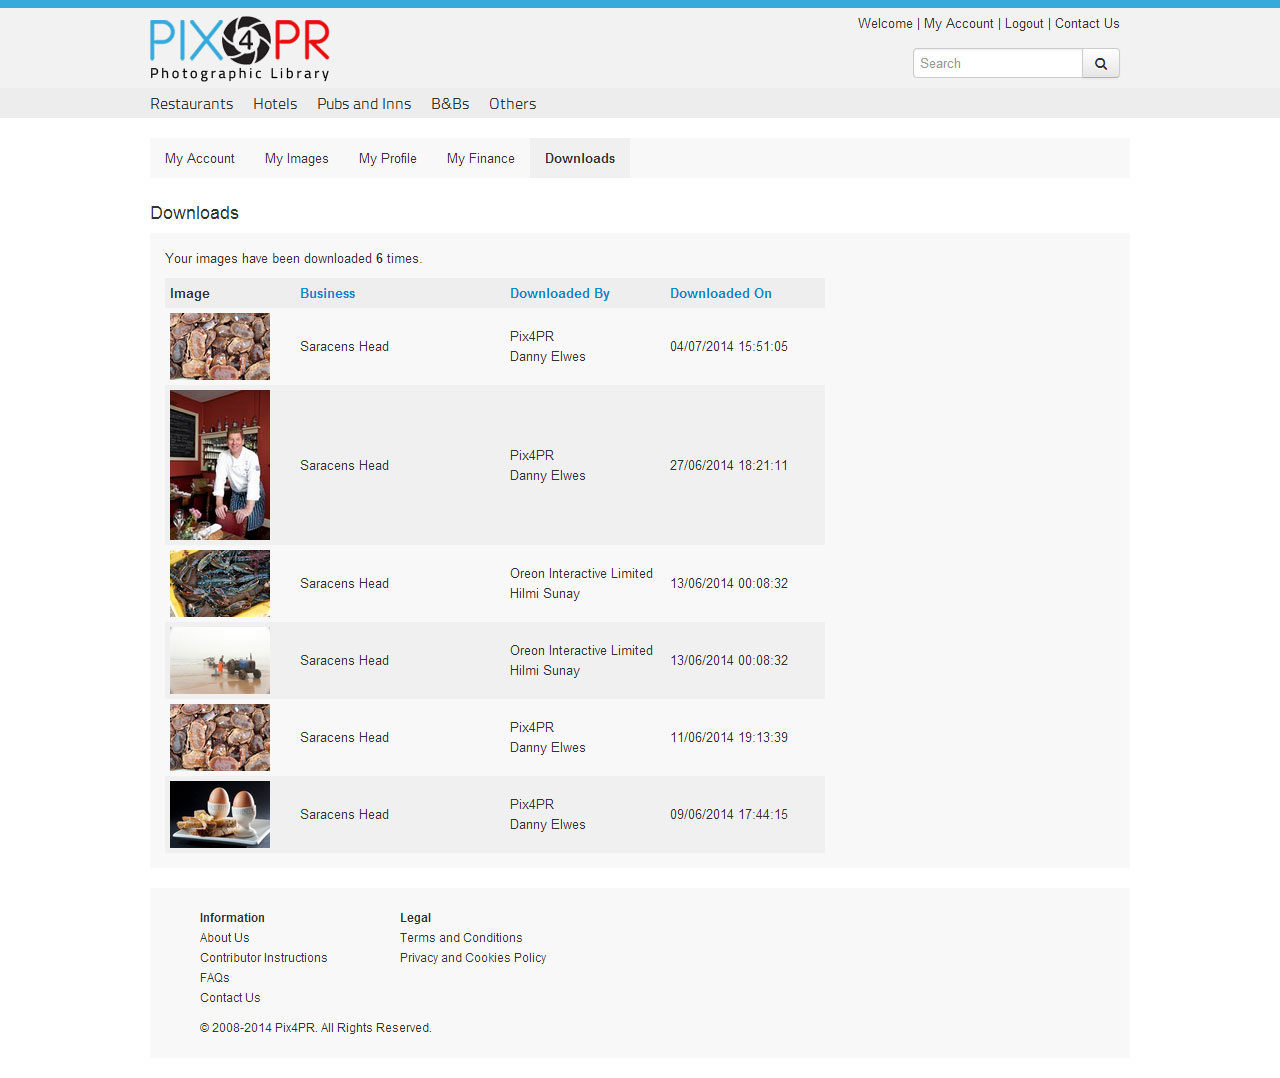
My Downloads
Have your pictures been used? You can access the download history of your pictures at any time in the Downloads section.